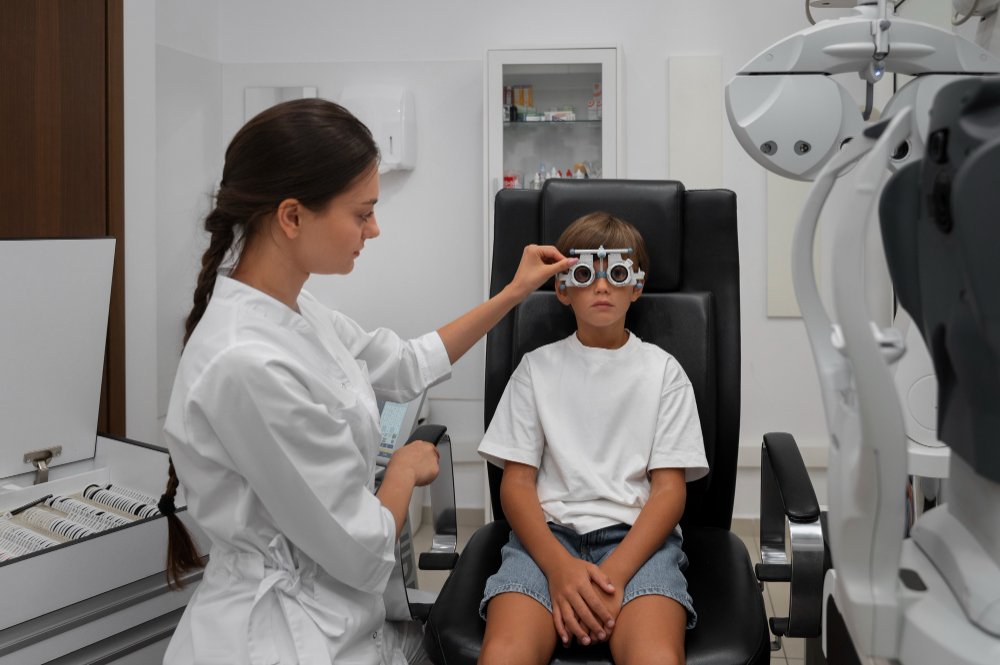
It is essential for general health and quality of life to maintain good vision. Regular eye exams play a vital role in detecting vision problems early on.
One of the most common components of Comprehensive Eye Exams is the visual acuity test, which helps determine the clarity and sharpness of your vision. Whether you’re experiencing vision changes or just want to ensure your eyes are healthy, understanding what a visual acuity test is and how it works can be beneficial.
It is important to explore the basics of visual acuity tests, their importance, and how they are conducted.
What is a Visual Acuity Test?
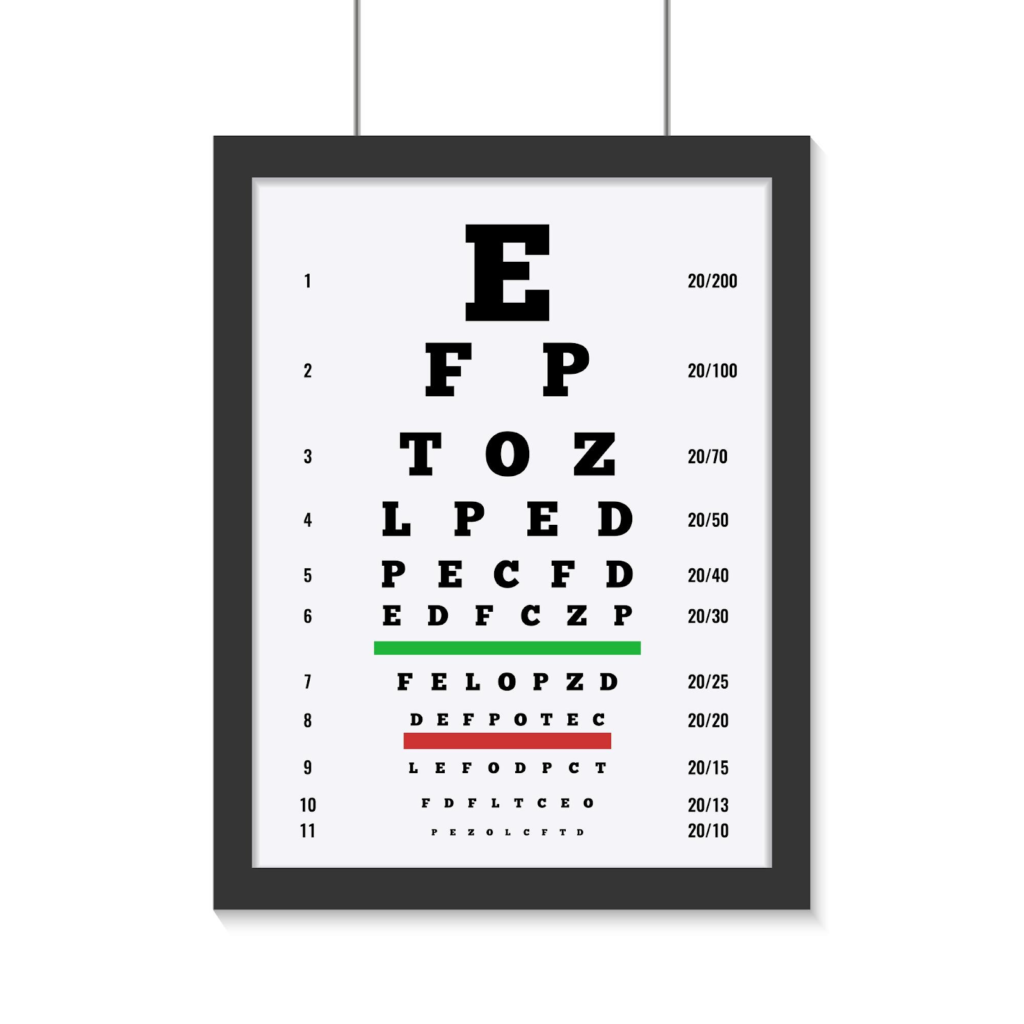
A visual acuity test measures how well you can see from a specific distance. It evaluates your ability to distinguish letters or symbols on a standardized chart, typically placed at a distance of 20 feet. The results are expressed as a fraction, such as 20/20, which indicates normal vision.
The first number refers to the testing distance, while the second number indicates the smallest line of letters that you can read. For example, a 20/40 result means you can see at 20 feet what a person with normal vision can see at 40 feet.
Visual acuity tests are crucial for diagnosing conditions like nearsightedness, farsightedness, and astigmatism. They are often part of routine comprehensive eye exams and are essential for ensuring that your prescription for glasses is up-to-date.
Why is a Visual Acuity Test Important?
Visual acuity tests are fundamental in assessing the health of your eyes. They can identify vision issues that might affect your daily activities, such as driving, reading, or working.
Early detection of vision problems allows for timely intervention, which can prevent further deterioration.
For children, these tests are essential for diagnosing and addressing vision issues that could impact learning and development. Regular visual acuity tests help maintain optimal eye health and ensure that you have the correct prescription for glasses or contact lenses.
How to Do a Visual Acuity Test
Performing a visual acuity test is a straightforward process that can be done at an optometrist’s office or even at home under the guidance of a professional. Here’s a step-by-step guide to how it’s typically conducted:
1. Preparation
- Environment: Ensure you’re in a well-lit room with minimal distractions.
- Distance: Position the chart at eye level and 20 feet away from where you’ll be standing or sitting.
- Cover One Eye: Use an eye patch or your hand to cover one eye without pressing on it, as pressure can alter the results.
2. Reading the Chart
- Starting Point: The test usually begins with larger letters at the top of the chart. You’ll be asked to read these aloud, moving down the chart to smaller letters as you go.
- Both Eyes Tested: After reading with one eye covered, the process is repeated with the other eye.
3. Recording the Results
- Recording Accuracy: Your optometrist will record the smallest line of letters you can read accurately. This is expressed as a fraction (e.g., 20/20, 20/40).
- Both Eyes Together: Some tests also assess binocular vision, where both eyes are used together.
4. Interpretation of Results
- Normal Vision: A result of 20/20 indicates normal vision, meaning you can see at 20 feet what a person with normal vision can see at that distance.
- Impaired Vision: Results like 20/40 or 20/60 suggest that your vision is not as sharp as it should be. This can call for more testing or the need for corrective glasses.
5. Follow-Up and Recommendations
- Prescription Update: Based on your test results, your optometrist may recommend new prescription lenses.
- Further Testing: If the results indicate a significant vision problem, additional tests may be needed to determine the underlying cause.

Types of Visual Acuity Tests
While the Snellen chart is the most commonly used method, there are other types of visual acuity tests:
1. Snellen Chart Test
The Snellen chart is made up of rows of progressively smaller letters. It’s the standard test for assessing visual acuity and is often used in schools, clinics, and during driver’s license exams.
2. Random E Test
This test employs the capital letter “E” in various orientations in place of letters. It is ideal for children who haven’t yet learned the alphabet or for individuals who are not comfortable with letters.
3. LogMAR Chart
The Logarithm of the Minimum Angle of Resolution (LogMAR) chart is more precise and is used for research and in clinical settings. It measures visual acuity more accurately than the Snellen chart, especially in people with poor vision.
How Often Should You Have a Visual Acuity Test?
The frequency of visual acuity tests depends on your age, health, and risk factors:
- Children: Regular screenings are recommended starting at age 3.
- Adults (18-60): Every two years, unless experiencing vision changes or wearing corrective lenses.
- Seniors (61+): Annual exams are recommended to monitor age-related vision changes, such as cataracts or macular degeneration.
Individuals with diabetes, hypertension, or a family history of eye disease should have more frequent exams, as they are at higher risk for vision problems.
Vision Galley is Here to Help!
Understanding what a visual acuity test is and how it fits into comprehensive eye exams is essential for maintaining good eye health. Whether you’re scheduling a routine check-up or experiencing vision changes, a visual acuity test is an important tool for protecting your eyesight. If you’re due for an eye exam or have concerns about your vision, don’t wait. Contact Vision Gallery today at 281-377-0219 to schedule your comprehensive eye exam and ensure your vision is in top condition.


